
We have workshop on Thursday(17th) and Friday(18th). Please understand whether we do not answer the phone and not reply the mail.
[Korean] 저희가 목요일과 금요일 워크샵을 갑니다. 전화를 받지 않고 메일에 회신을 못해 드리더라도 이해해 주십시오.
We have workshop on Thursday(17th) and Friday(18th). Please understand whether we do not answer the phone and not reply the mail.
[Korean] 저희가 목요일과 금요일 워크샵을 갑니다. 전화를 받지 않고 메일에 회신을 못해 드리더라도 이해해 주십시오.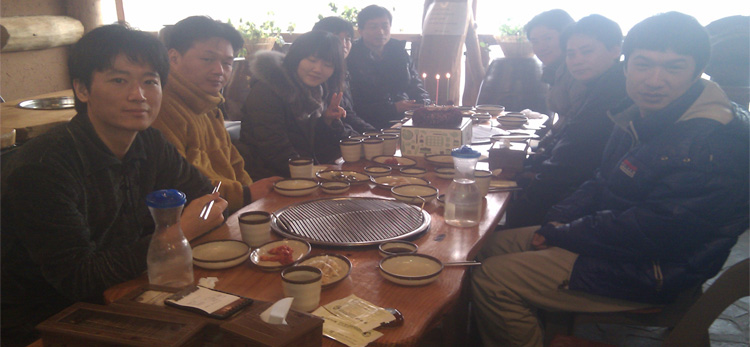
Happay birthday to Anna.
She is the youngest in Hardkernel. And she doesn’t have a boyfriend. If there is any good guy, please contact Hardkernel.
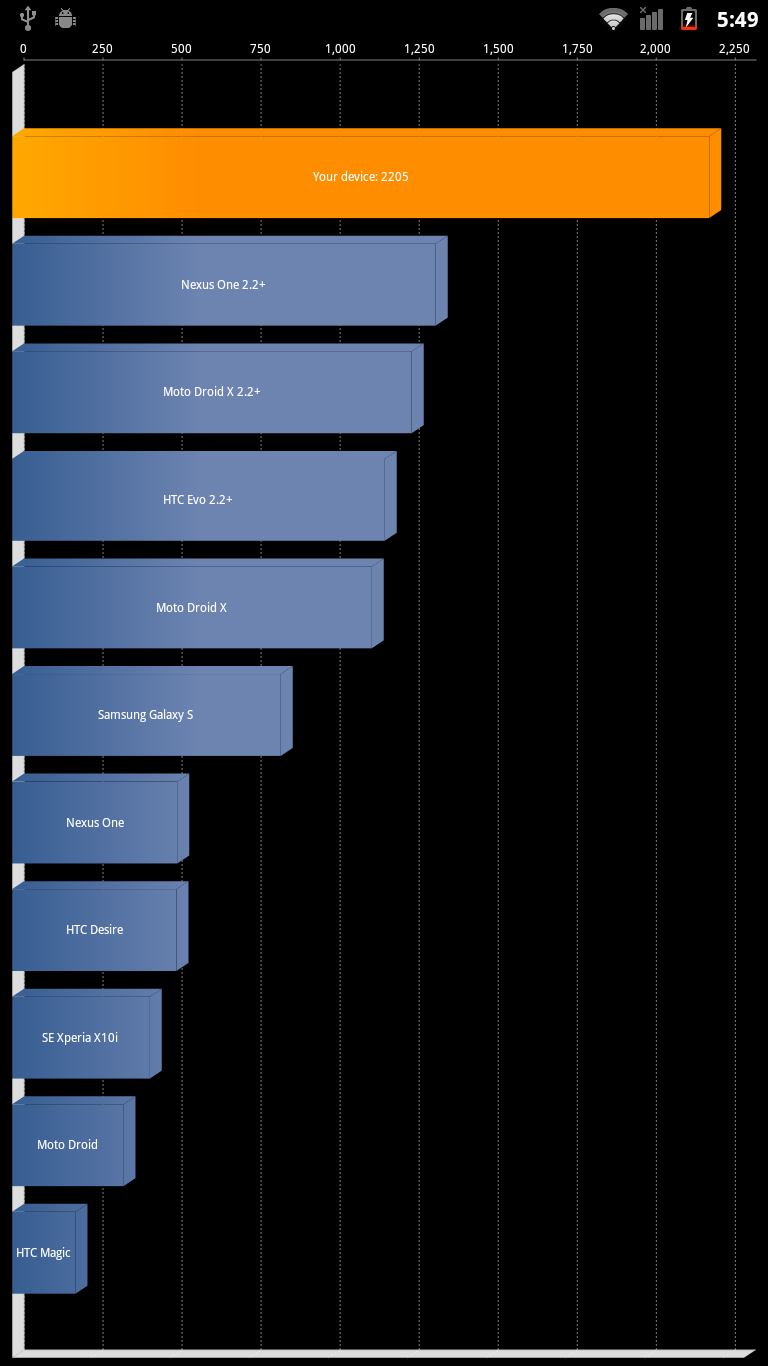
Here is a simple benchmarking test of Exynos 4210 with Quadrant app.
2.5 times faster than Galaxy-S even though our test board has a large 1366×768 display resolution.
Performance is excellent and amazing!
Device : ODROID-A
Processor : Exynos4210
Display : 1366 x 768 TFT
System OS level : Alpha release(No optimization has done yet. We will update better result soon.)
Test video is coming now.
Samsung Exynos4210 processor, dual-core ARM Cortex-A9 is officially anounced today. The project code name was ORION.
Hardkernel will open new product on 15th of Feb. Keep your eyes on our homepage.
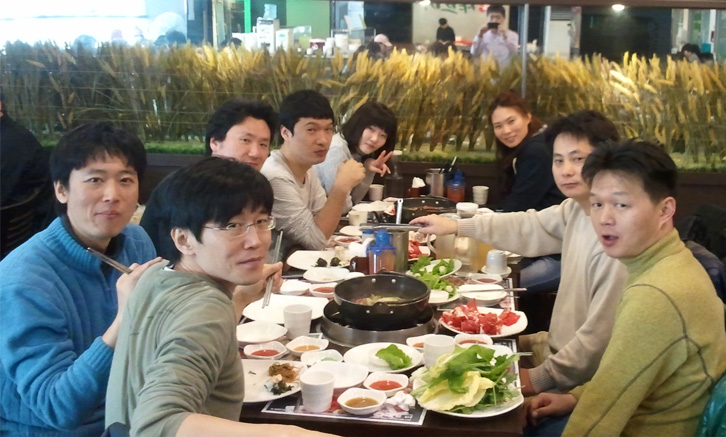
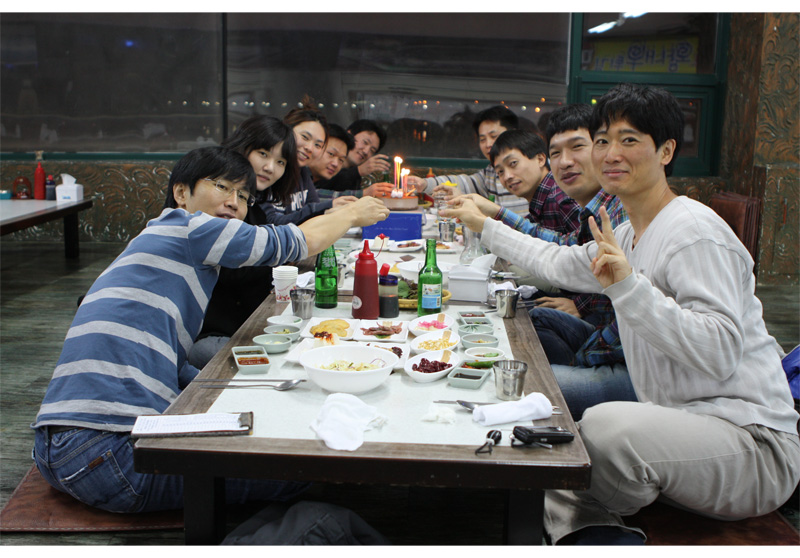
It was Neal’s birthday party. Happy birthday, Neal!! I hope you meet great girl friend this year.
9 members are all in the picture. Let’s fine out the last one person 😉 Where he is ~~
리눅스를 사용하는 전문 엔지니어들에게는 아주 간단해 보이는 환경설정 과정이 이제 엔지니어의 길을 시작하는 초보자에게는 쉽지 않은 것 같습니다. 더더군다나 Windows7에서 개발환경을 구축하는 문의가 많아 저희가 직접 메뉴얼 비슷하게 작성해 보기로 하였습니다. 안드로이드 환경설정이 쉽지 않으신 분들은 이 과정을 따라해 보시는 것도 좋을 것 같습니다.
목 차
1. Oracle VM Virtual Box
1.1. Oracle VM VirtualBox 설치하기
1.2. Virtual Machine 만들기
2. Installing Ubuntu
2.1. Ubuntu 설치하기
2.2. Ubuntu Update 하기
2.3. Terminal Window 바로가기
2.4. Folder 공유하기
3. Ubuntu 에서 Java 및 기타 환경 설치하기
4. ODROID-7 Source code 받기
5. Windows7 에서 Android SDK 설치하기
5.1. JDK 설치하기
5.2. Android SDK 설치하기
5.3. Path 연결하기
5.4. ADB USB driver 설치하기
6. Android Build 하기
6.1. Confidential file 끄집어내기
6.2. Android Build 하기
7. Virtual Box에서 USB Device 연결하기
8. Android System folder를 ODROID-7 에 전송하기
9. Virtual Box에서 minicom 연결하기
10. Tool Chain 설치하기
11. Codesourcery 설치하기
12. DNW 실행하기
13. RAM disk image를 ODROID-7 으로 전송하기
14. Kernel build 하기 및 ODROID-7 으로 전송하기
14.1. Kernel Build 하기
14.2. Kernel을 ODROID-7 으로 전송하기
15. U-boot build 하기 및 ODROID-7 으로 전송하기
15.1 U-boot build 하기
15.2. U-boot를 ODROID-7 으로 전송하기
16. ODROID-7 Recovery image로 복구하기
초보자를 위한 ODROID-7 으로 Android 빌드하기
https://docs.google.com/viewer?a=v&pid=explorer&chrome=true&srcid=1j_7Y6GaqocWX-PXVjThiz38hswpgrsOiUNmFrJx2desFbSlzi9vlWxHz_Gge&hl=en
Going outside together every two months was our plan from the very first company setup. We should do some event soon. 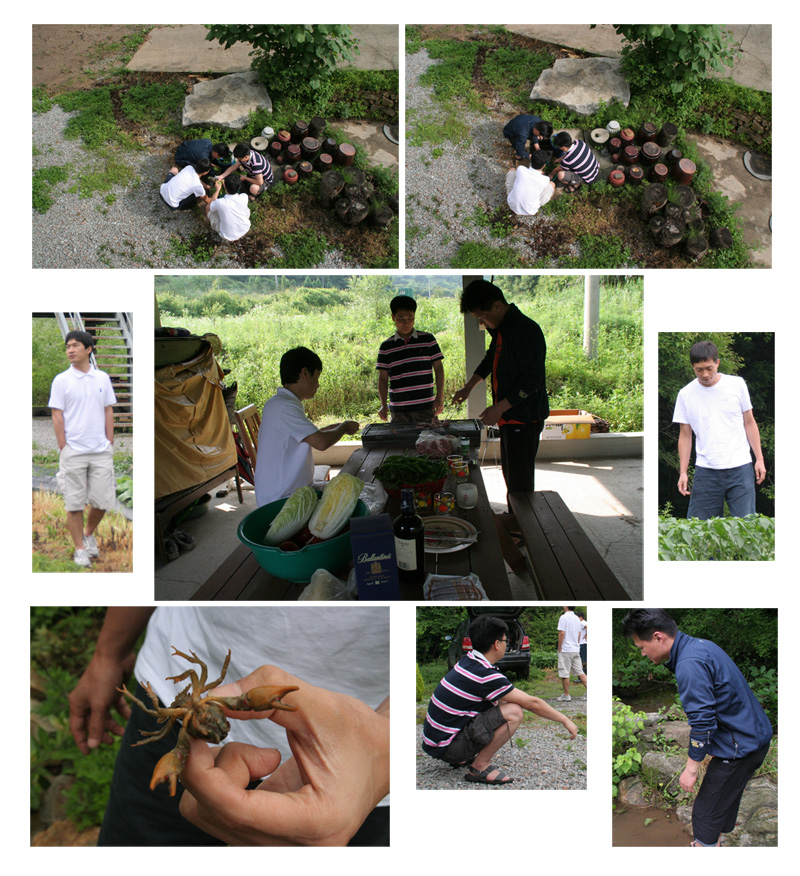 We went to Justin’s second house for barbecue party in July 2009.
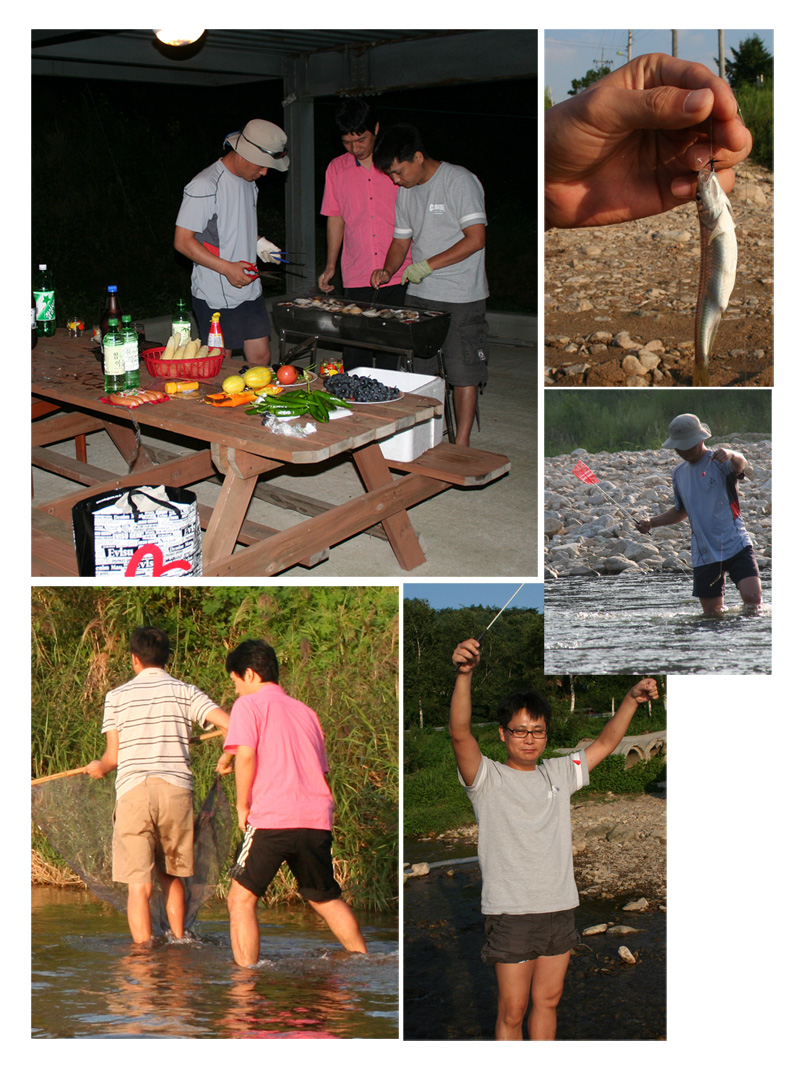 We went fishing in August 2009.
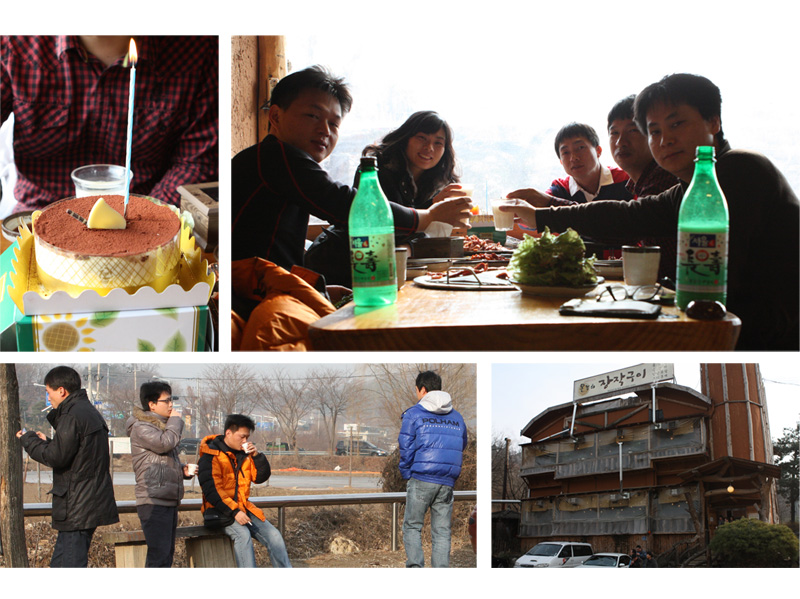 It was Hardkernel’s first birthday, December 24, 2009. Cheers for our next 30 years together!
 We are now big family. We went out for babecue party and played Sepaktakraw in August 2010.
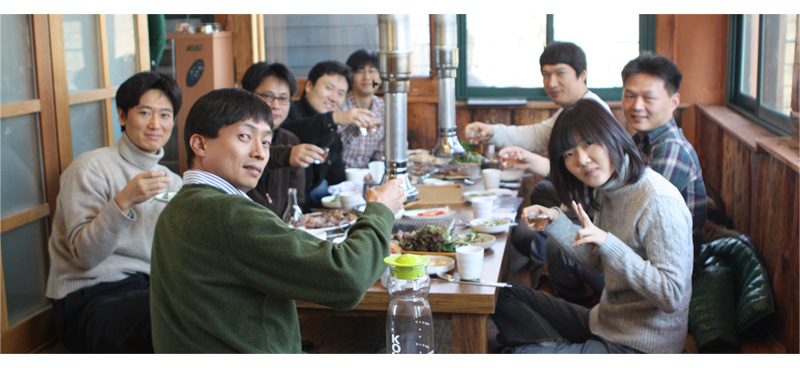 It was Hardkernel’s second year birthday party on December 24, 2010, Cheers for next 30 years together. Every year is it same?

We had first design mockup of ODROID, our first product in June 2009.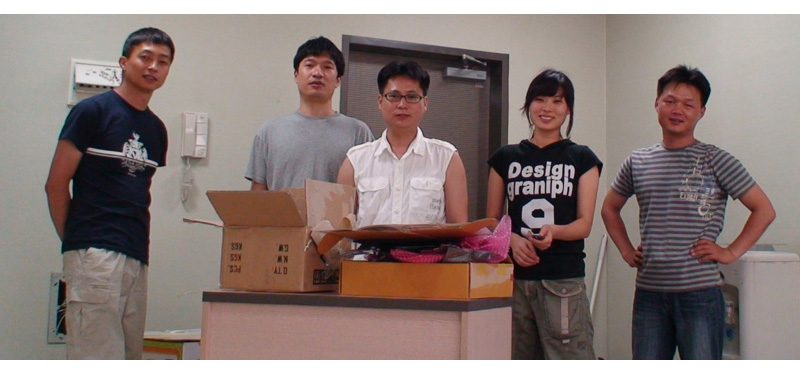
We had our first new office in June 2009. 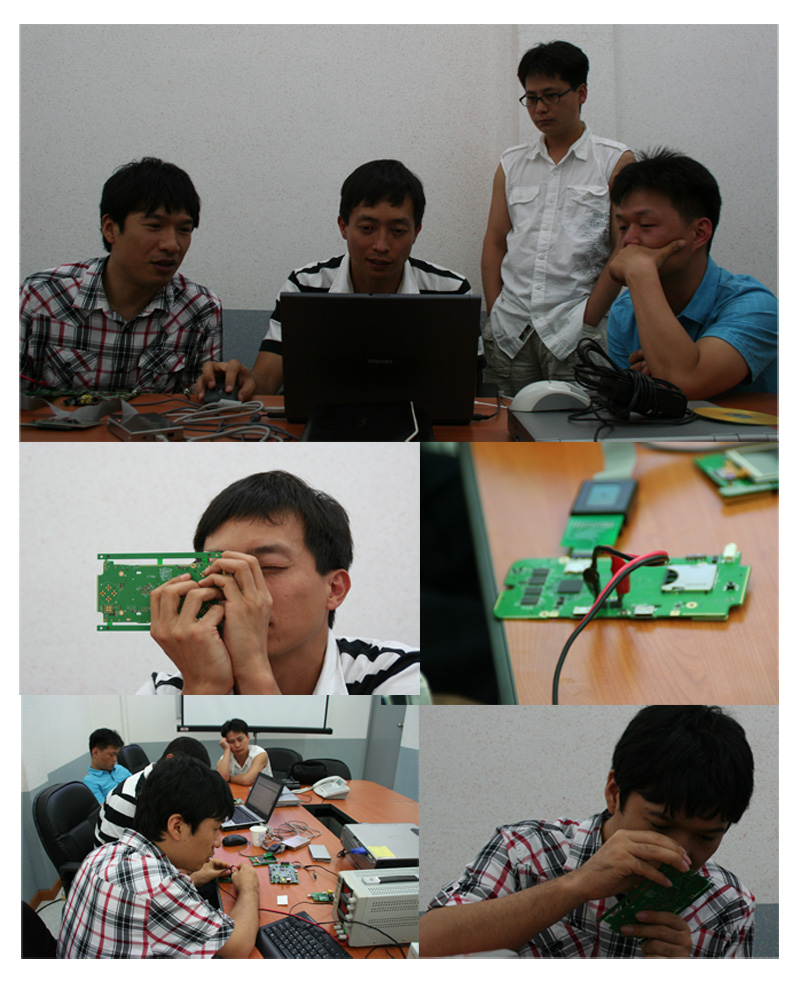 ODROID production started in October 2009.
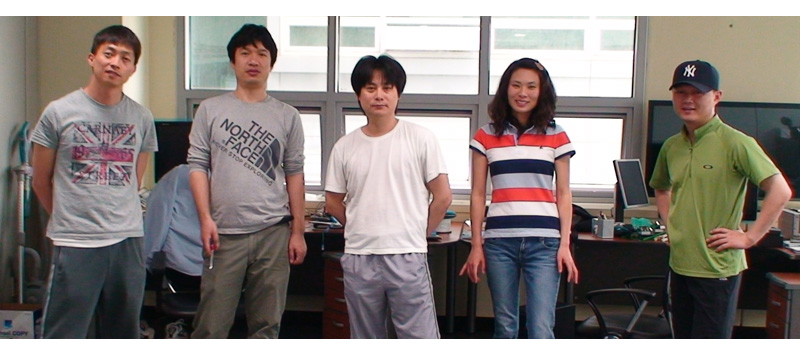 We moved to new office in May 2010.
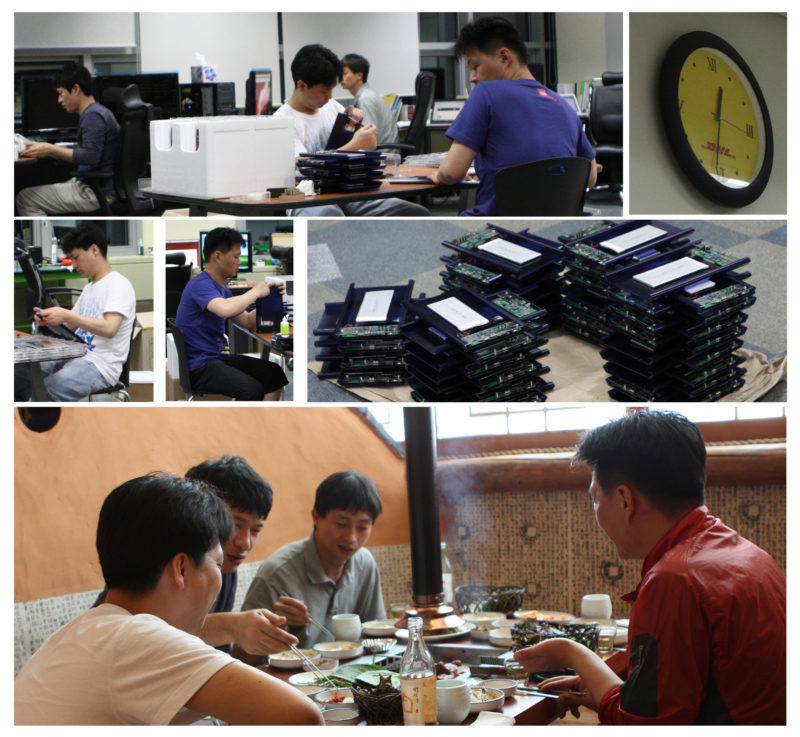
ODROID-T production has started and we had to check everything day and night. It was May 2010.
블러그에 이런 글을 올려도 될런지 잘 모르겠습니다.
네, 블러그 초보자 맞습니다. ^.^
모든일에 있어서 우선 순위를 어떻게 정하는게 좋을지 계속 고민할수밖에 없습니다.
인생도 그렇고, 개발 과정도 그렇고, 사랑하는 일도 그렇습니다.
더더욱 힘든것은 내가 느끼는 우선 순위와 실제 현실에서 보여지는 우선 순위가 다르다는 것입니다.
OS에서 말하는 우선순위 관리 기능은 크게 보면 비선점형/선점형이 있습니다.
특정 프로세스가 CPU 를 독점하는것이 가능(프로세스가 스스로 CPU 점유를 포기해야만 다른 프로세스가 실행)하면 비선점형,
특정 프로세스가 CPU 를 독점하는것이 불가능(운영체제가 강제로 프로세스의 CPU 점유를 제어)하면 선점형
기술적으로 깊이 들어가면 하드웨어 인터럽트/소프트웨어 인터럽트/DMA 우선 순위/코어의 수량 같은
많은 요인에 따라 비선점/선점에 대해 논할만한 이야가기 많이 있습니다.
때로는 비선점/선점 각각의 장단점이 다른 이유로 자기 스스로 우선순위를 선택할 수 없는 경우도 생기는것 같습니다.
백그라운드로 낮추어서 잔잔하게 끊김없이 오래오래 해야 할 일도 있고, 우선 순위를 엄청 올려서 빨리 끝내버려야 할 일도 있겠죠.
선점형(preemption), 비선점형(non-preemption)의 선택이 점점 더 어려워지는것 같습니다.
그래도 세상은 살만하다고 스스로 위로할 뿐입니다.
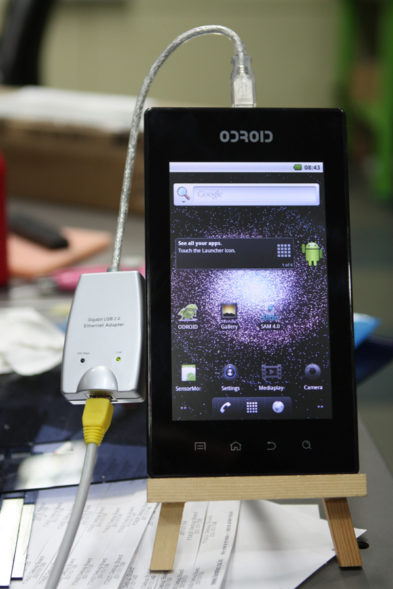 – External USB Gigabit ethernet support with static IP configuration in setting menu.
(Tested with Axis AX88178 chipset)
– WLAN tethering(portable hotspot) support with USB ethernet.
– Ethernet & Portable hotspot manual ==> Download
– Latest offical Froyo branch Android 2.2.1_r1 FRG83 is merged.
– 3Mpixel camera support.
– Touch screen controller F/W update for stable input again.
– Kernel source fix for the latest Codesocery GCC 4.5.1 (Lite 2010.09-51)
Source code can be downloaded from here.
+ Kernel source
==> Download
+ Android source
==> Download
+ Recovery image
==> Download
* How to update
– Back up the source code and schematics in Micro-SD card first. All contents in the card will be erased.
– Download and uncompress the attached file.
– Power off the Odroid and unplug the Micro-SD card.
– Plug the Micro-SD in to USB Memory card reader and connect to PC.
– Run burning software in Windows OS. (Windows Vista & Windows-7 users must run in compatility mode)
– After writing process, move the Micro-SD card to Odroid and enjoy~
– 외장형 기가비트 USB 이더넷을 지원합니다. 초고속 인터넷 접속이 가능해 졌습니다.
(설정 메뉴에 Static IP 세팅을 구현하였고, Axis사의 AX88178 칩셋이 들어 있는 제품으로 테스트 하였습니다.
같은 칩셋을 사용한 Gigabit USB-LAN 카드가 오픈 마켓에서 3만원 정도에 구입 가능합니다.)
– 유선랜을 이용한 무선랜 테더링를 지원 합니다. 무선 공유기처럼 동작합니다.
– 유선랜과 무선랜 테더링 사용 방법은 아래 링크를 참고하세요. ==> Download
– 최신 Froyo 2.2.1_r1 FRG83을 기반으로 작업하였습니다.
– 3Mpixel 카메라를 추가로 지원하도록 드라이버가 변경되었습니다.
– 터치스크린 펌웨어가 또다시 업데이트되어 입력 감도가 좋아졌습니다.
– 최신 버전 CodeSorcery G++ Lite 2010.09-51 gcc 4.5.1에서 컴파일이 가능하도록 커널 소스 수정
Thanks for visiting our home.
Our family members are here; Neal, Anna, Lisa, Gon, Chris, Charles, Justin, Ruppi and Raphael from the left. We are young and get challenge from your attention. We wish and wish to be in open source community for looooooooooooooooooong time